Speech Bubbles Made Easy: Your Guide to Comic Dialogue

Learn the essentials of designing and using speech bubbles in comics effectively. This beginner's guide covers anatomy, best practices, common pitfalls, and advanced techniques to make your comic dialogue pop.
Published on: January 11, 2026
Comics rely on a mix of visuals and text to tell stories, and speech bubbles play a key role in bringing characters’ words to life. They guide readers through conversations, thoughts, and emotions. Getting them right can make your comic more engaging, while poor design might confuse or distract readers. This guide breaks down how to create effective speech bubbles, from basic elements to pro-level tricks.
Anatomy of Speech Bubbles
At their core, speech bubbles consist of a few simple parts that combine to convey meaning. Understanding these components helps you tailor them to different situations.
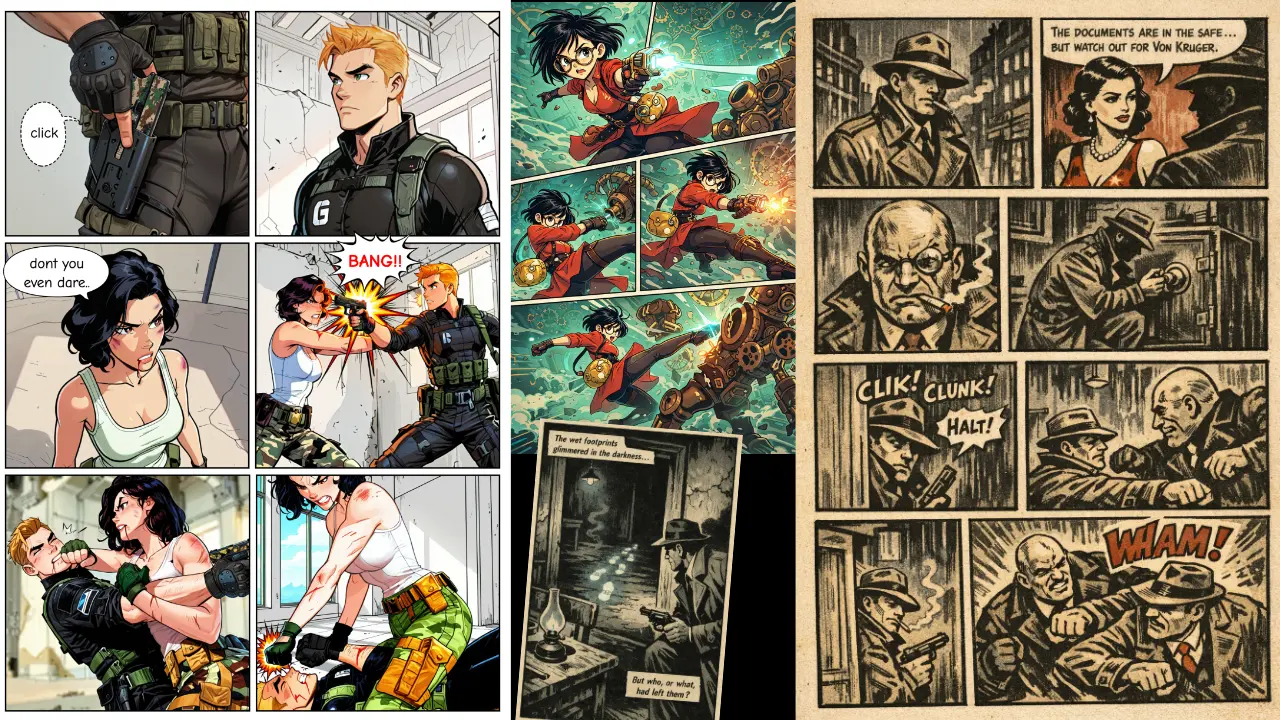
The Bubble Shape: Usually round or oval, this encloses the text. For a casual chat, a simple circle works. For shouts, you might add jagged edges or spikes to show volume or intensity.
The Tail: That pointer that connects the bubble to the character. It points directly at the speaker’s mouth to avoid confusion. The tail’s length can vary—short for close-ups, longer for panels with multiple characters.
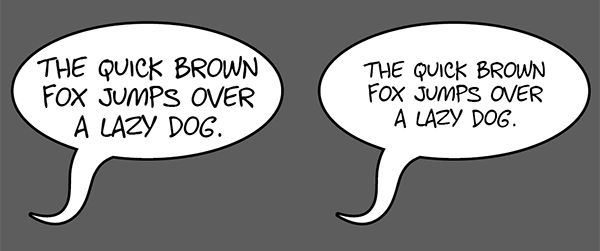
The Text: Inside the bubble, the font, size, and style matter. Bold lettering emphasizes loud speech, while italics might hint at sarcasm or whispers.
Borders and Fills: A thin outline defines the bubble, and sometimes a fill adds color for emphasis, like red for anger.

These elements work together. For instance, a thought bubble might use clouds instead of a sharp tail, signaling internal monologue.
Best Practices
To make speech bubbles shine, follow these guidelines that seasoned comic artists swear by.
Keep bubbles clear and uncluttered. Place them near the character without overlapping key artwork. If text is long, break it into shorter lines or use a larger bubble to maintain readability.
Match bubble styles to the story’s tone. In a serious drama, clean lines and consistent fonts keep things professional. For a fun adventure comic, playful shapes add personality.
Size matters too. Big bubbles for important dialogue draw the eye, while small ones suggest quiet moments. Always ensure the text fits comfortably without cramping.
Experiment with placement. Bubbles can sit above, below, or beside characters, depending on panel layout. In action scenes, position them to follow the flow of movement.
Common Mistakes
Even pros stumble sometimes, but knowing these errors helps you avoid them.
Overloading panels with too many bubbles clutters the page and overwhelms readers. Limit to 2-3 per panel, and stagger them if needed.
Ignoring readability is a big one. Tiny fonts or dark text on dark backgrounds strain eyes. Stick to high-contrast choices and legible typefaces.
Don’t forget the tail— a misplaced one can confuse who’s speaking. Double-check it points accurately.
Repetitive designs get boring fast. Vary shapes and sizes to keep panels dynamic.
Advanced Tips
Once basics are down, try these techniques to elevate your work.
Use sound effects creatively. Onomatopoeic words like “BAM!” in bubbles can enhance action without extra panels.
Incorporate colors strategically. A character’s bubble in their shirt color adds visual flair and helps distinguish speakers in group scenes.
For multilingual comics, adapt bubbles with translations or notes to broaden appeal.
Play with perspective. Angled bubbles can mimic camera angles, adding depth.
Test layouts on paper first to see how bubbles interact with the art.
Conclusion
Mastering speech bubbles turns good comics into great ones. Start with the basics, practice consistently, and let your style evolve. Remember, effective bubbles enhance the story without stealing the show. With time, you’ll design ones that feel natural and immersive. If you’re just starting, grab some comics and sketch your own bubbles—it’s the best way to learn. Happy drawing!