Comic Paneling Guide: Mastering Layouts for Engaging Stories
Dive into the art of comic paneling with this step-by-step guide. Learn grid basics, flow techniques, pacing strategies, and advanced layouts to craft compelling visual stories that keep readers hooked.
Published on: January 11, 2026
Hey there, fellow comic creator. If you’ve ever flipped through a comic and wondered how those panels pull you from one scene to the next, you’re in the right spot. Paneling isn’t just about dividing a page. It is the foundation of comic storytelling. In this guide, we’ll break down the basics of comic paneling, from simple grids to creative layouts. Whether you’re drawing your first strip or improving your graphic novel, these tips will help you make pages that feel lively and keep readers turning pages. Let’s start and learn what makes a good comic layout work.
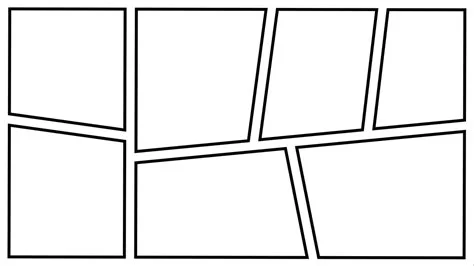
Grid Basics
At the heart of every comic page is the grid, a simple structure that arranges your panels. Think of it as the base holding everything together. Start with a basic grid, like a 2x3 or 3x2 setup, where each panel sits neatly in its box. This keeps things easy to read, especially if you’re new to this. But don’t get stuck on strict lines. Grids are flexible. You can change panel sizes to highlight important moments, like making a key action shot bigger. Try gutters, the space between panels, to give your page room to breathe. A tight grid builds tension, while wider gaps let the eye rest. Use vertical stacks for emotional scenes or horizontal flows for chases. The goal? Make the grid invisible so readers focus on your story.
For example, in a quiet talk, stick to equal squares. But when the hero jumps into danger, let one panel bleed across the page to increase the drama. Check out our flow techniques section for ways to connect these panels smoothly.
Flow Techniques
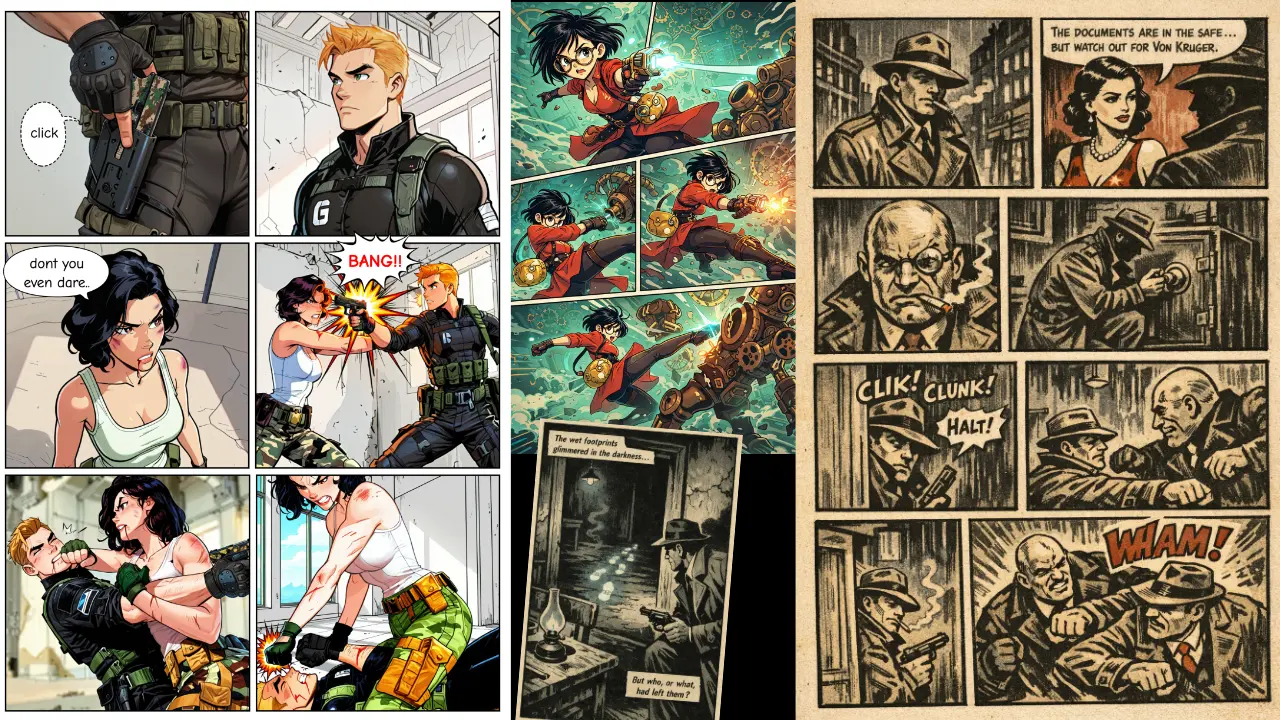
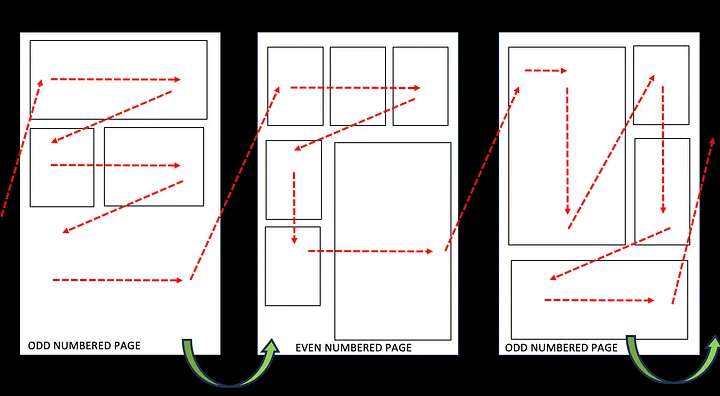
Once you have your grid set, it’s time to guide the reader’s eye. Comics read like a dance, usually left to right, top to bottom, but you can change those rules for effect. Use arrows or implied lines, like a character’s gaze or a road winding through panels, to direct attention. Break the normal order with diagonal layouts if the story needs it, like during a chaotic fight where panels zigzag to show the confusion.
Balloon placement is very important here. Keep speech bubbles near their speakers to avoid confusion, and let tails point clearly. If a thought balloon overlaps panels, make sure it connects them without making the space messy. Overlapping panels can create depth, showing actions at the same time, like a flashback coming into the front. Remember, the flow should feel natural, like turning a book page, not a puzzle.
To keep it interesting, change your panel shapes. Circles for memories, irregular edges for abstract thoughts. It is all about matching form to function. If you add sound effects or captions, place them where they improve the rhythm without taking over.
Pacing Strategies
Pacing turns a good layout into an exciting one. Panel size is your main tool here. Small panels speed up the action, making time fly, while large ones slow things down for big reveals. Imagine a sequence where tiny panels build to a huge splash page. That is how you control the reader’s heartbeat.
Mix in gutters and bleeds to change tempo. A page with wide gutters might stretch out a tense waiting scene, while no gutters at all compresses a fast dialogue. Balloon timing matters too. Short, quick bursts for excitement, longer ones for thinking. Don’t forget about wordless panels. They can press a pause button perfectly, letting images speak louder than words.
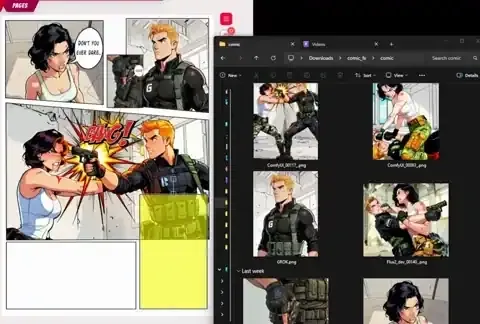
but for now, practice changing panel counts per page. A busy day might have 12 panels, a thoughtful moment just two.
Advanced Layouts
Ready to level up? Advanced paneling breaks free from the grid completely. Try full-page bleeds where the image goes off the edges, pulling readers right into the scene. Or try non-rectangular panels, like triangles for conflict, wavy lines for dreams.
Multilayer layouts let you show time changes, like past and present overlapping. Add insets for details, zooming in on a character’s face while the main panel shows the big picture. Balloon use gets creative too. Put text right into the art or use unusual shapes for emphasis.
The key is balance. Don’t use too many tricks. Use these to help your story, whether building suspense or adding fun. Test layouts by reading aloud. If the flow stumbles, change it.
Conclusion
There you have it, a strong base for mastering comic paneling. Start simple with grids and flows, then try pacing and advanced ideas to make your stories stand out. Paneling is as much about feeling as rules, so draw, change, and draw some more. Keep your audience in mind, and soon you’ll make layouts that feel easy and exciting. If you want more, go back to the basics or share your panels in the comments. Happy drawing!